DIY Melt & Pour soap project.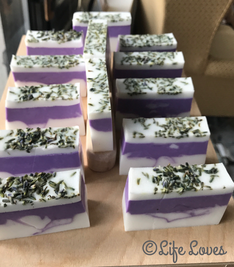
I'm so excited to share this project!!
I had been wanting to make a layered lavender soap for several weeks and finally made the time to do it! I decided I also wanted to try to swirl it a little, which can be difficult with melt and pour soap. Gotta love a challenge! This is a melt and pour project so for those of you that may be thinking DIY soap making = lye, this is NOT one of THOSE projects. I'll have one of those projects in a few weeks. When it comes to soap making it's similar to making any other recipe, you need to make sure you have your ingredients and your supplies ready. For this recipe here is what I used:
Ingredients:
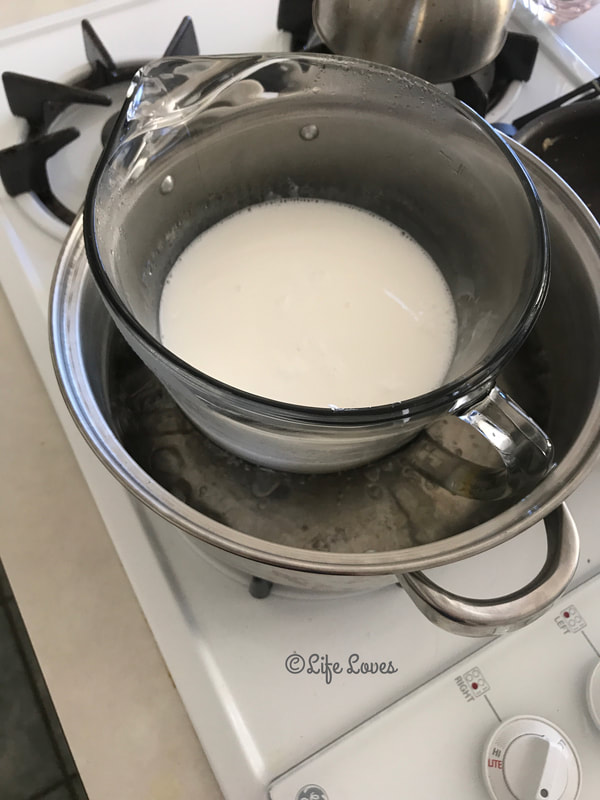
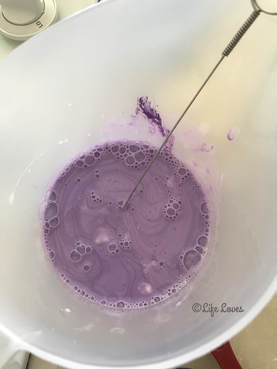
* 32 oz melt and pour white base. I purchased at Michael's. * 1 teaspoon Lavender mica * 1 oz Lavender 40/42 essential oil * Lavender buds * Alcohol (99% isopropyl alcohol). I have mine ready to go in a spray bottle. Supplies: *1 lb silicone soap mold *digital scale *mixing bowl (since this is melt and pour you can use plastic since there is no chemical reaction that will take place). *small measuring bowls *pipette *stirring utensil *Double boiler*** (or microwave safe bowl for melting your soap base). *** I don’t like to melt my bases in the microwave, it takes longer to wait for it to melt with a double boiler method, but this is just MY personal preference. Directions:
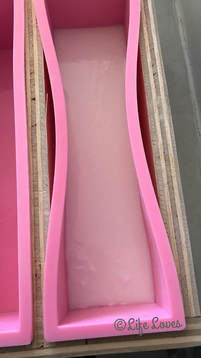
6. Pour about 15 oz of melted white base into your soap mold.
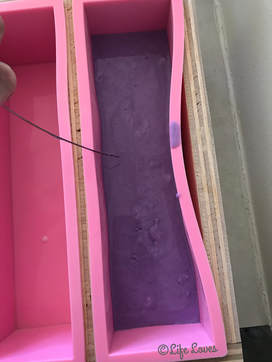
7. Mist the top with alcohol to remove bubbles. 8. Wait at least 5-7 minutes* so that the soap layer you’re about to pour is not too hot. If it is, it will melt right into the layer you already poured below. You also have to allow the poured layer time to harden. It will form a skin on top but you need to allow time so that it will solidify below otherwise without enough strength to hold the next layer it may melt right through. *I didn’t have a thermometer so I could not test to see the temperature of the soap before pouring the next layer safely* You want the soap you are about to pour to have a temperature below 125 degrees F before pouring on top of the previous layer. I still got great results so just remember this is all a learning process. :) I’ve also since purchased and received my infrared thermometer; No more guessing! :) 9. Mist the layer of soap with alcohol (this will help “glue” it together) then pour your lavender soap.
10. Mist the newly poured layer with alcohol to get rid of bubbles. 11. I wanted to try swirling in the soap, so I used my little stick stirrer and zig zagged slowly across the soap.
12. Wait 5-7 minutes or until you blow on the top layer and you cannot see any rippling effects.
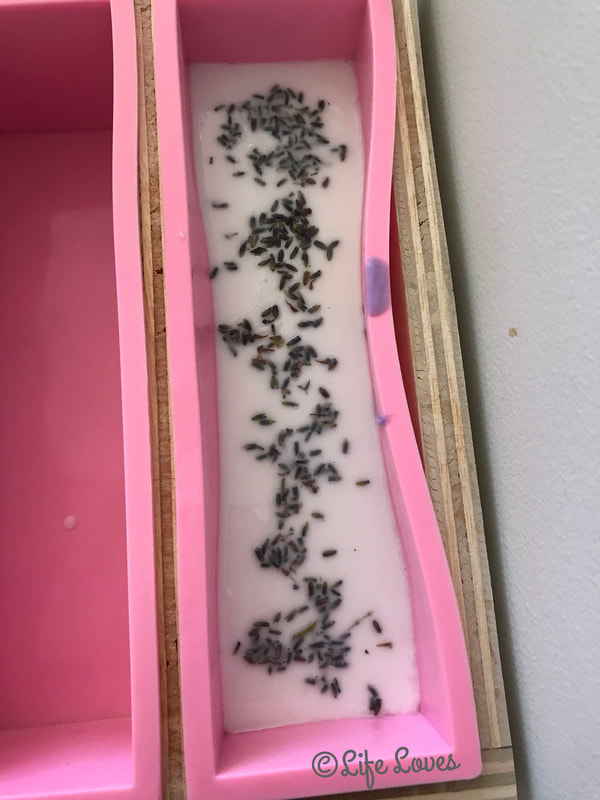
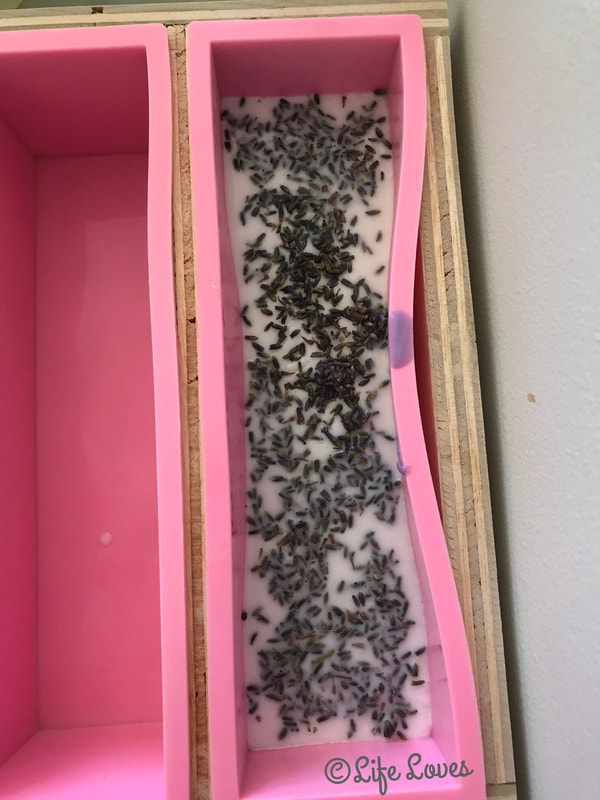
13. Mist top layer with alcohol. 14. Pour the remaining white base on top. 15. Mist with alcohol to remove bubbles. 16. Sprinkle with lavender buds.
17. Wait until the soap is fully cooled before unmolding and cutting. This can take several hours.
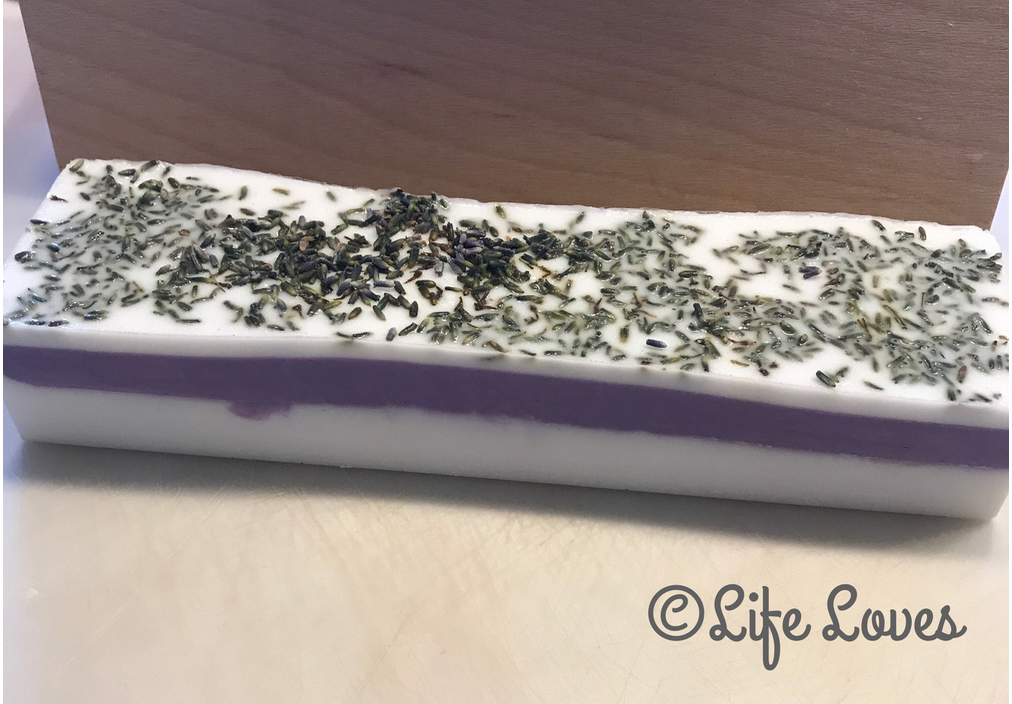
Unmolded; Ready to cut!
18. Cut to you desired thickness. The sharper the knife the better to help the layers stick together.

Additional Tips:
Get creative!! Thank you for following this novice through some trials and errors in soap making. Have you made any soap projects? Please share any tips and tricks (leave a comment below)! Soon I’ll be making a lemongrass soap so stay tuned! Happy Soaping! Tita
0 Comments
Your comment will be posted after it is approved.
Leave a Reply. |

Meet Tita
|
 RSS Feed